Ready to beat the heat? Installing a central air system can transform your home into a cool oasis, even on the hottest days. By following the right steps, you can ensure the installation is done correctly and efficiently. Here’s a straightforward guide to help you through the process:
Planning and Preparation
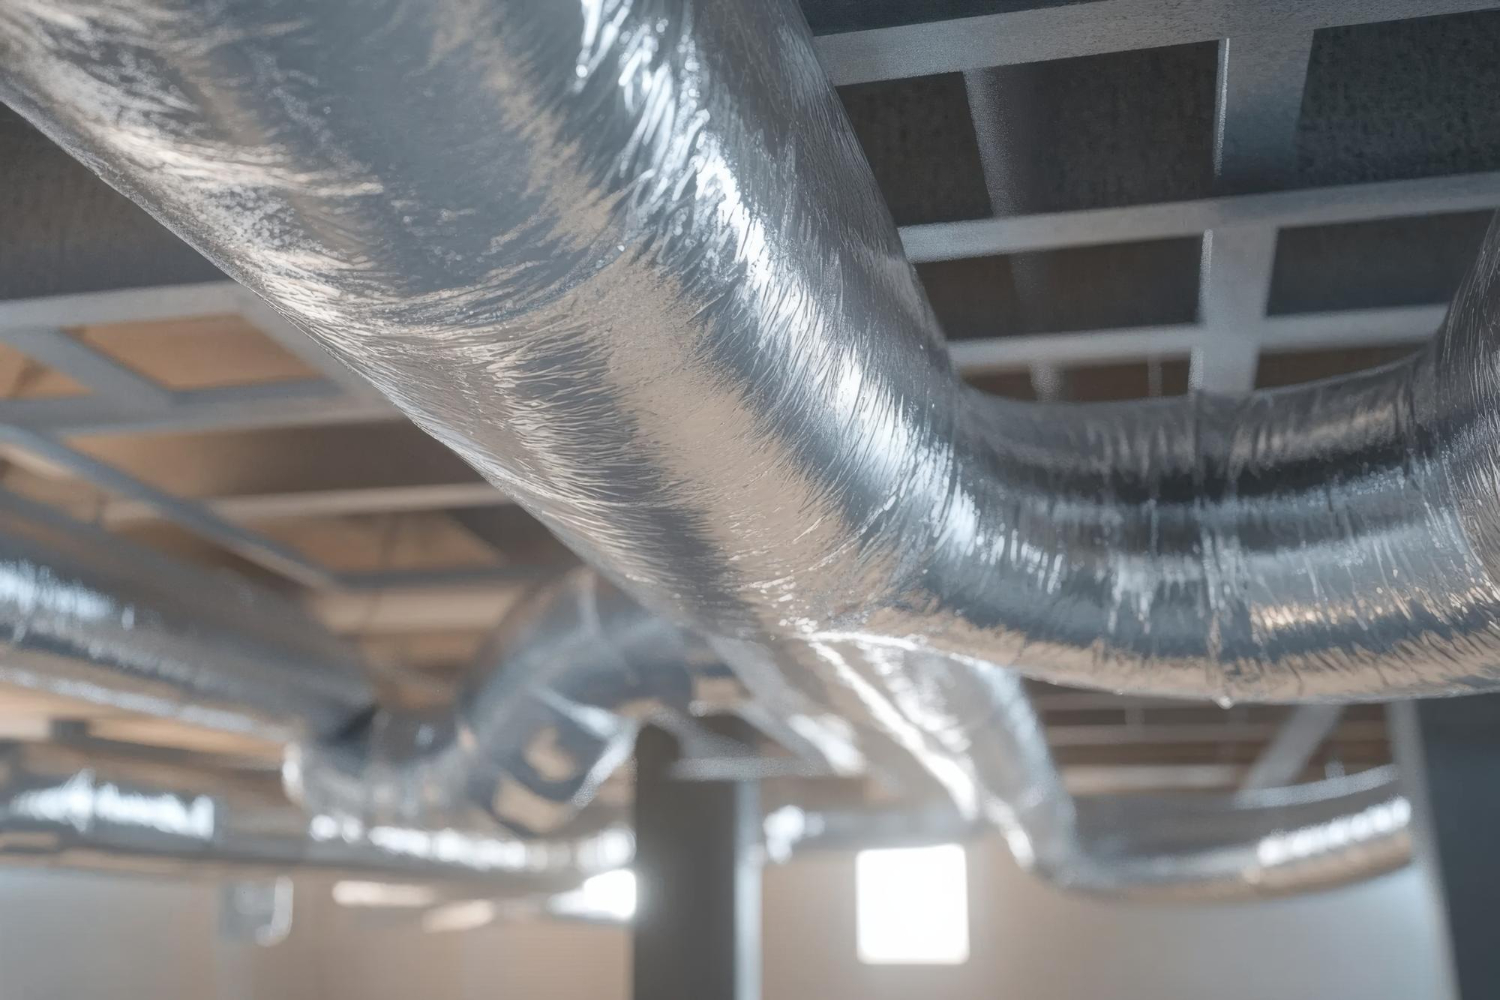
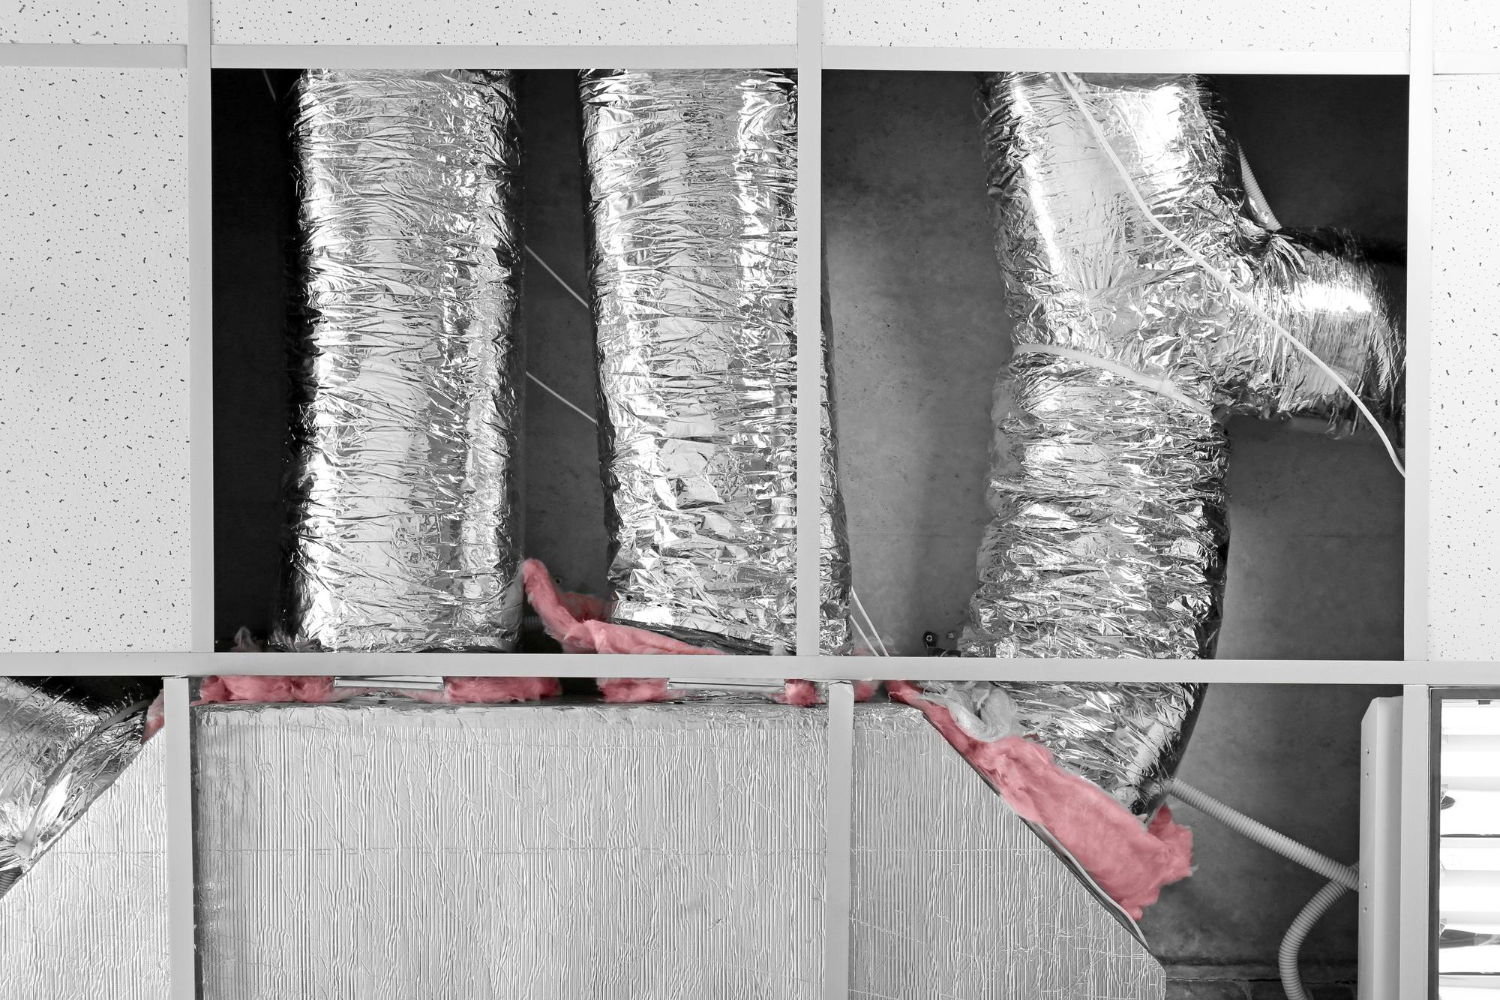
Before you start, it’s important to plan ahead. Make sure you have the right tools and equipment, and check if your current ductwork can handle a central air system, or if it needs updating. Preparing well can save you time and prevent issues down the line.
Once ready, you must carefully install the components. Ensure the indoor unit is properly connected to the ductwork and the outdoor unit is set up in a well-ventilated area. Paying attention to these details can make your system run smoothly and last longer.
Evaluate Your Home
Check your home’s size, layout, and age. Measure the square footage of the area you want to cool. Consider how many windows you have and if they let in a lot of sunlight. Look at the insulation in your home because good insulation helps keep cool air in and warm air out.
Our HVAC technicians can perform a Manual J calculation, which considers the climate and other factors to determine the right size of the central air conditioner you need. Ensure your home’s ductwork is in good condition, or plan to install new ducts if necessary. Also, check if you need any permits for the installation in your area.
Choosing the Right Central Air System
Choose a system based on your home's cooling needs. Look at the cooling capacity measured in BTUs. A higher BTU means more cooling power. Check the SEER rating (Seasonal Energy Efficiency Ratio) for energy efficiency. The higher the SEER rating, the more efficient the system.
Decide between a split system HVAC and a package unit. A split system has an indoor unit and an outdoor unit, while a package unit combines everything in one. The right choice depends on your home's layout and your cooling needs. Look at the system's energy efficiency rating to understand potential energy costs.
Installation Steps
Planning the Installation
Before starting, plan the installation process and the space needed for both the indoor and outdoor units. Proper planning ensures you select the best central air system for your home.
For installation, you’ll need to set up both the indoor and outdoor units, connect them and conduct a thorough inspection and testing to ensure your Central Air Conditioner functions correctly. Following these steps will ensure your system operates efficiently and reliably for years to come.
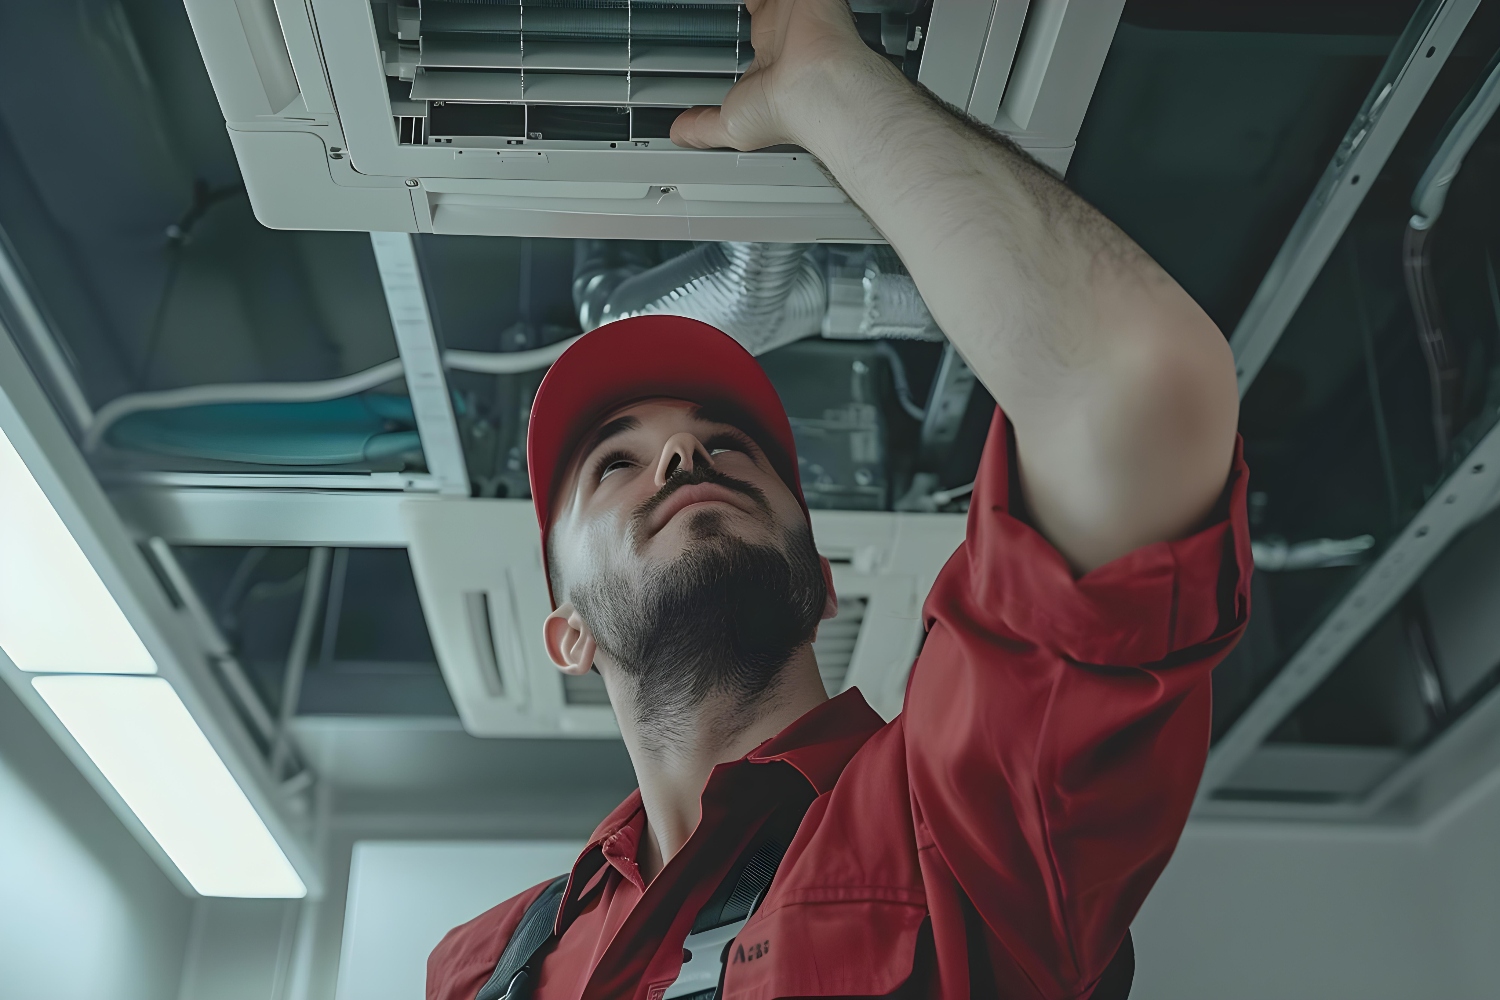
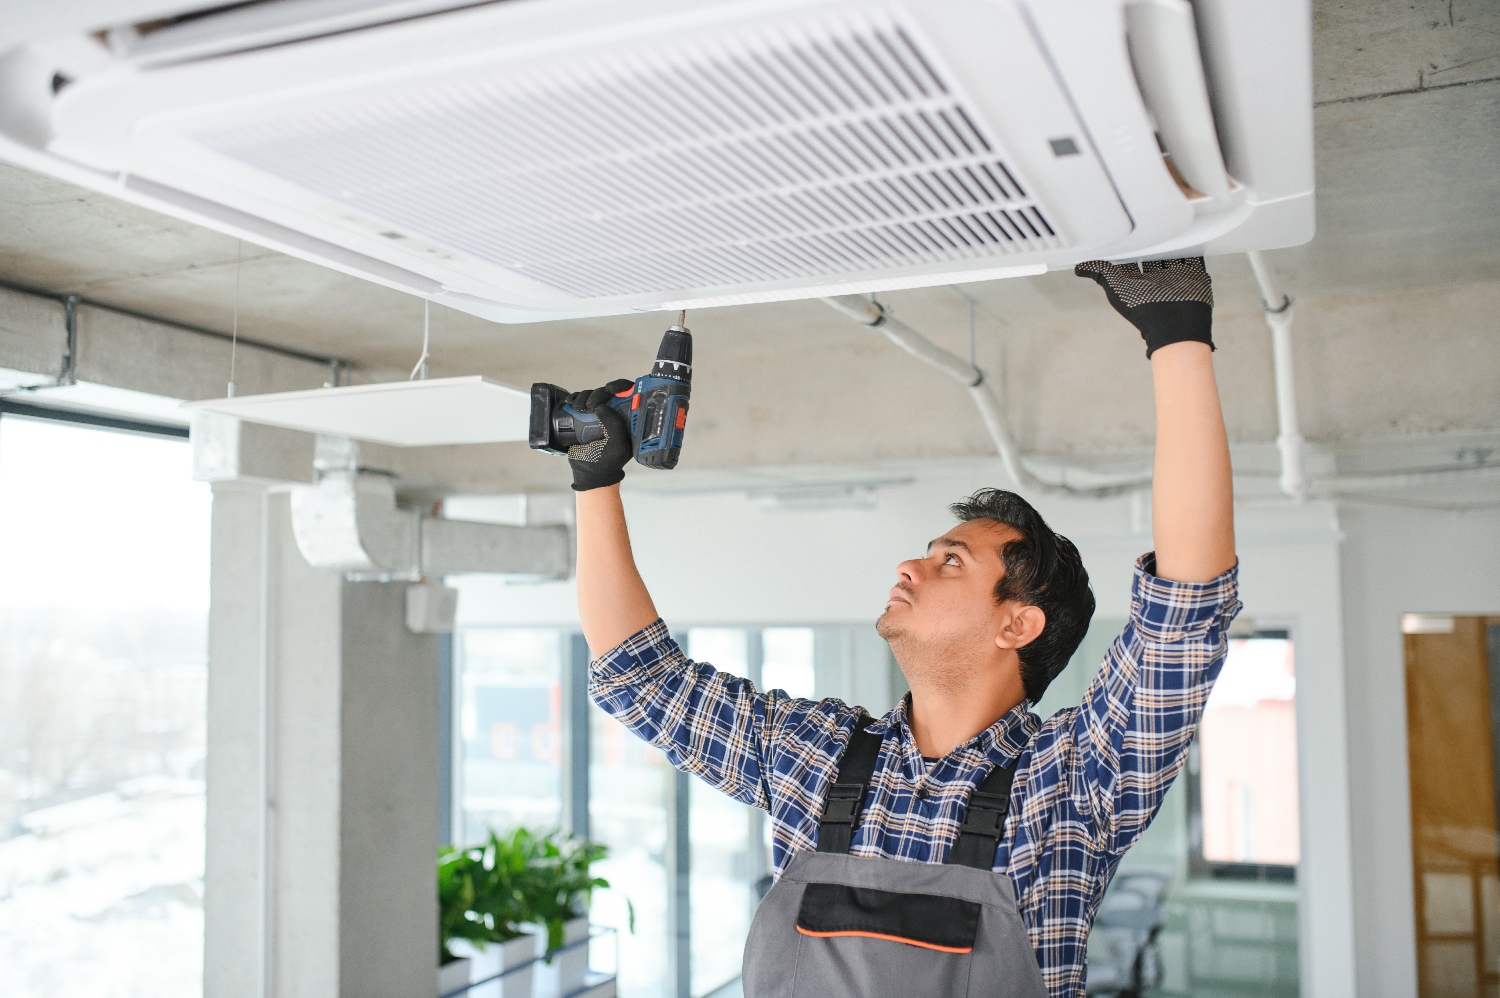
Installing the Indoor Unit
Position the Evaporator Coil and Air Handler: Install the evaporator coil above the furnace. Secure it well to prevent leaks.
Install the Plenum: Connect the coil to the existing ductwork with the plenum. Ensure the air handler is level and stable. Attach the drain piping from the coil to a reliable drain to avoid water damage.
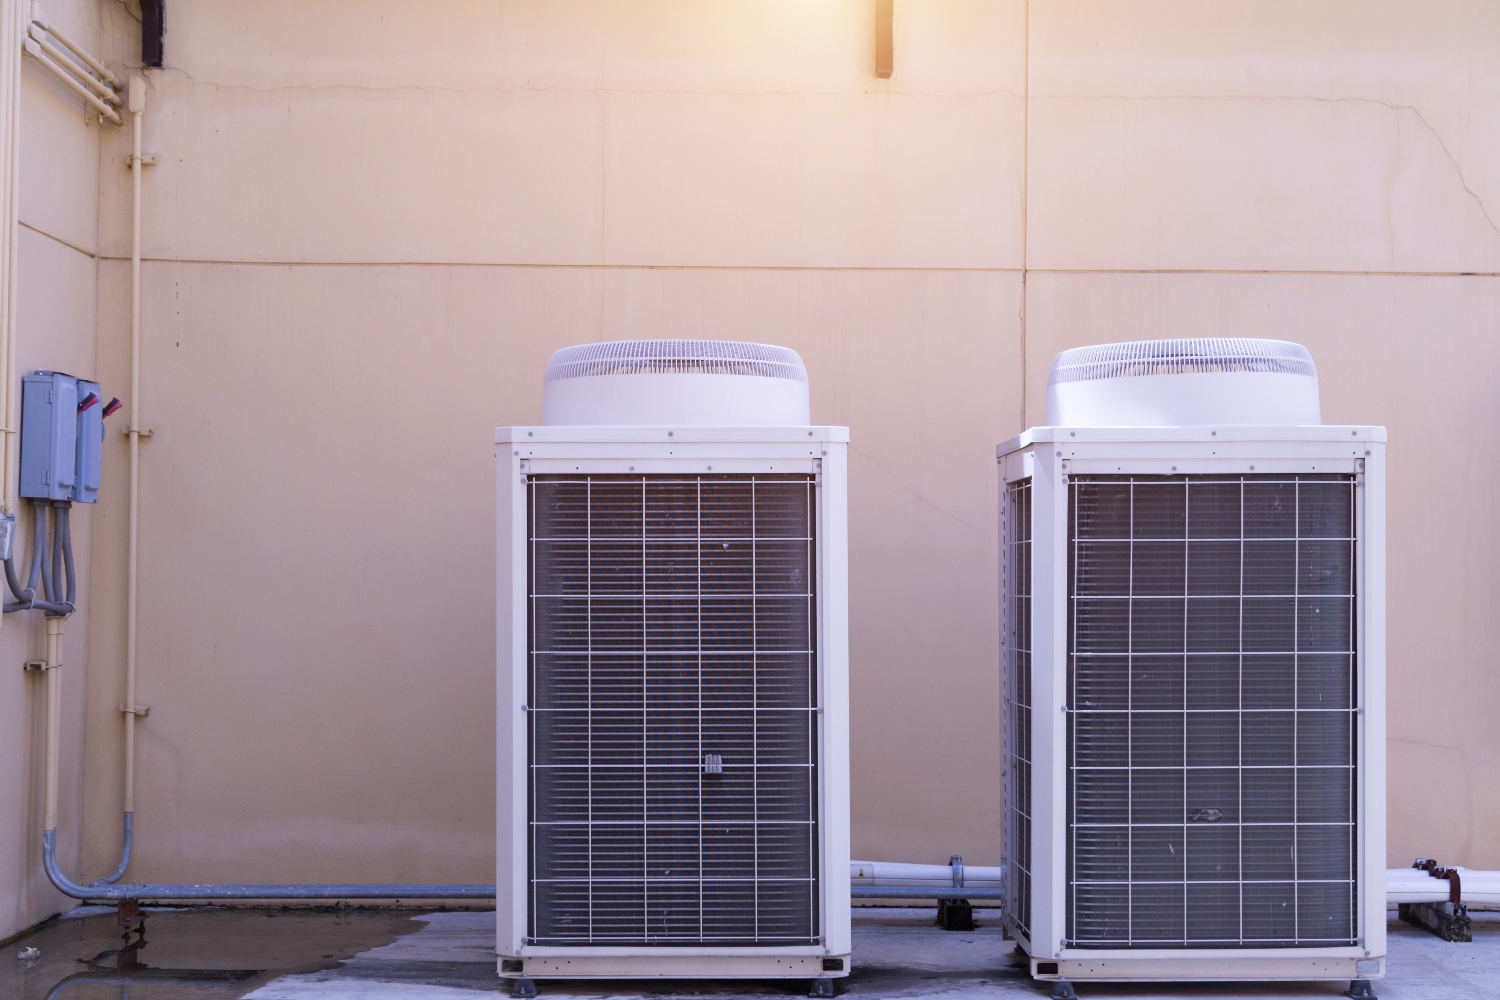
Installing the Outdoor Unit
Place the Condenser Unit: Set the condenser unit on a flat surface, like a concrete pad, away from plants and debris to ensure propwr airflow.
Connect Refrigerant Lines and Electrical Supply: Install these connections securely. Check the compressor for any damage and ensure adequate spacing around the unit to maintain efficiency and reduce noise.
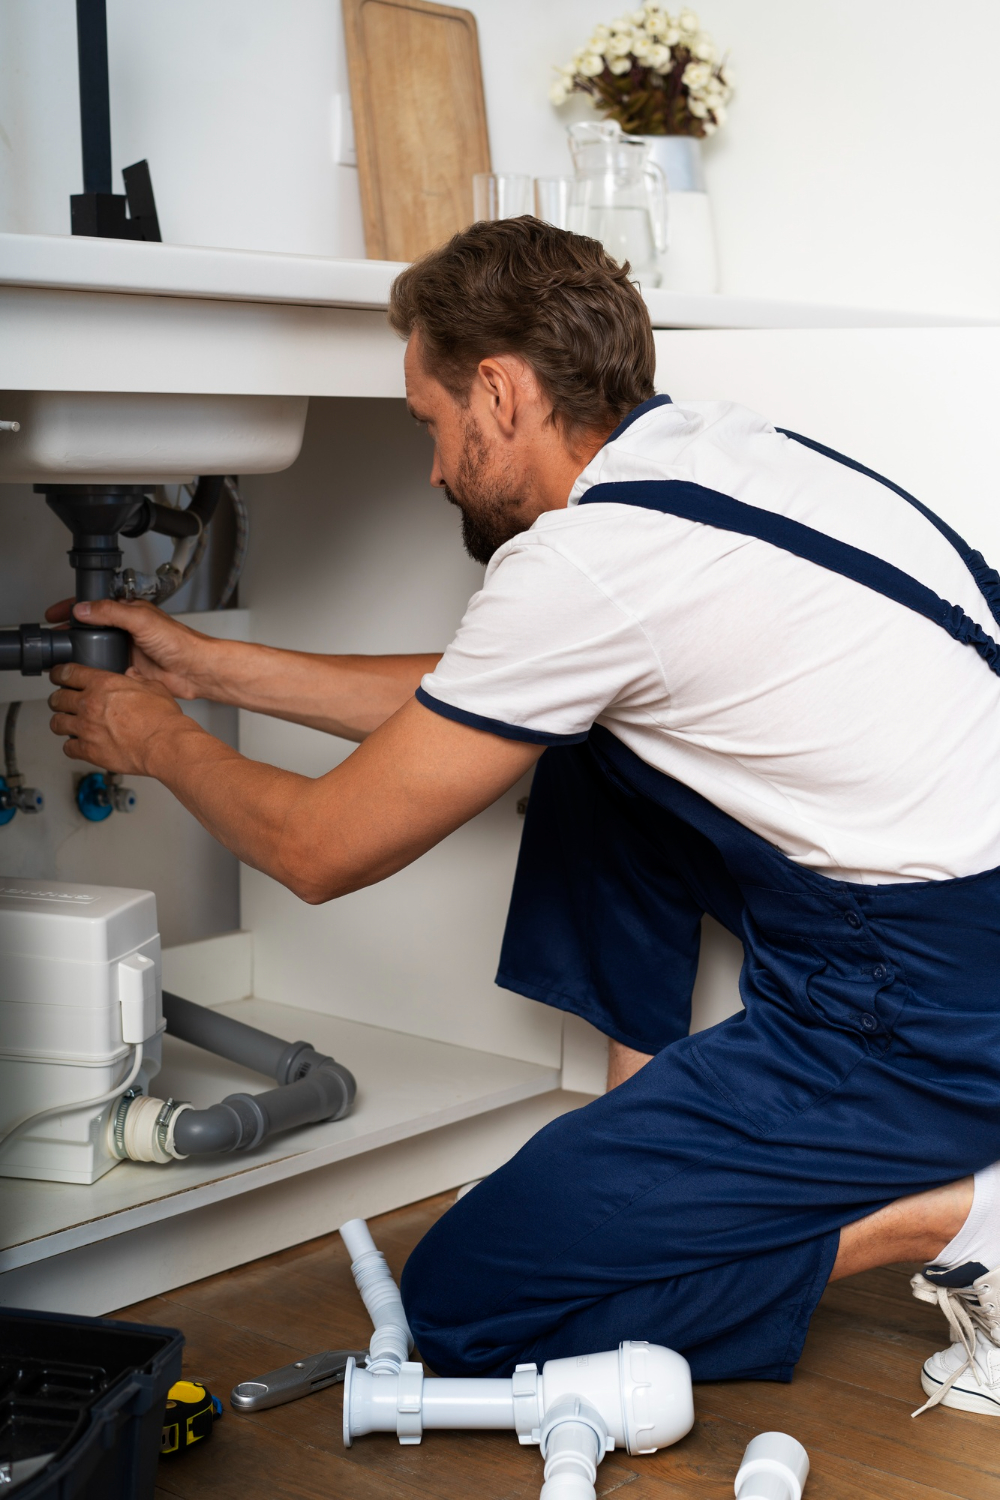
Connecting the System
Securely connect the indoor unit to the outdoor unit using refrigerant lines. Make sure the connections are tight to avoid leaks. Use insulated pipes to maintain the refrigerant temperature.
Connect the necessary electrical lines between the indoor air handler and outdoor condenser. Ensure these connections follow local building codes to avoid safety issues. Lastly, connect the drain piping to your home’s plumbing to manage condensate.
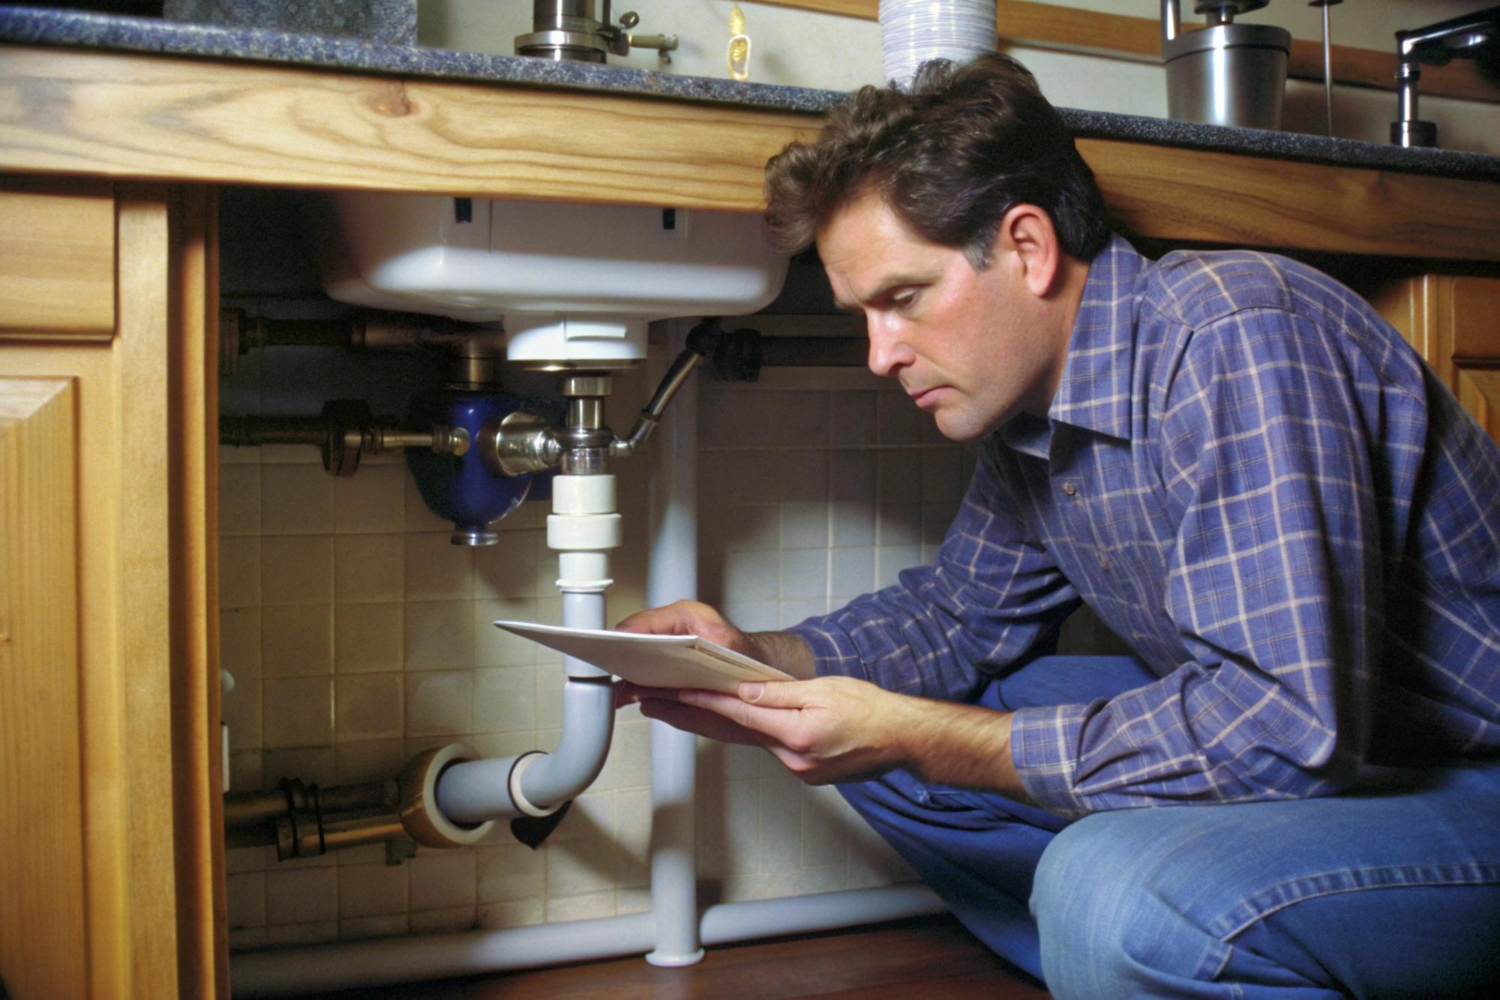
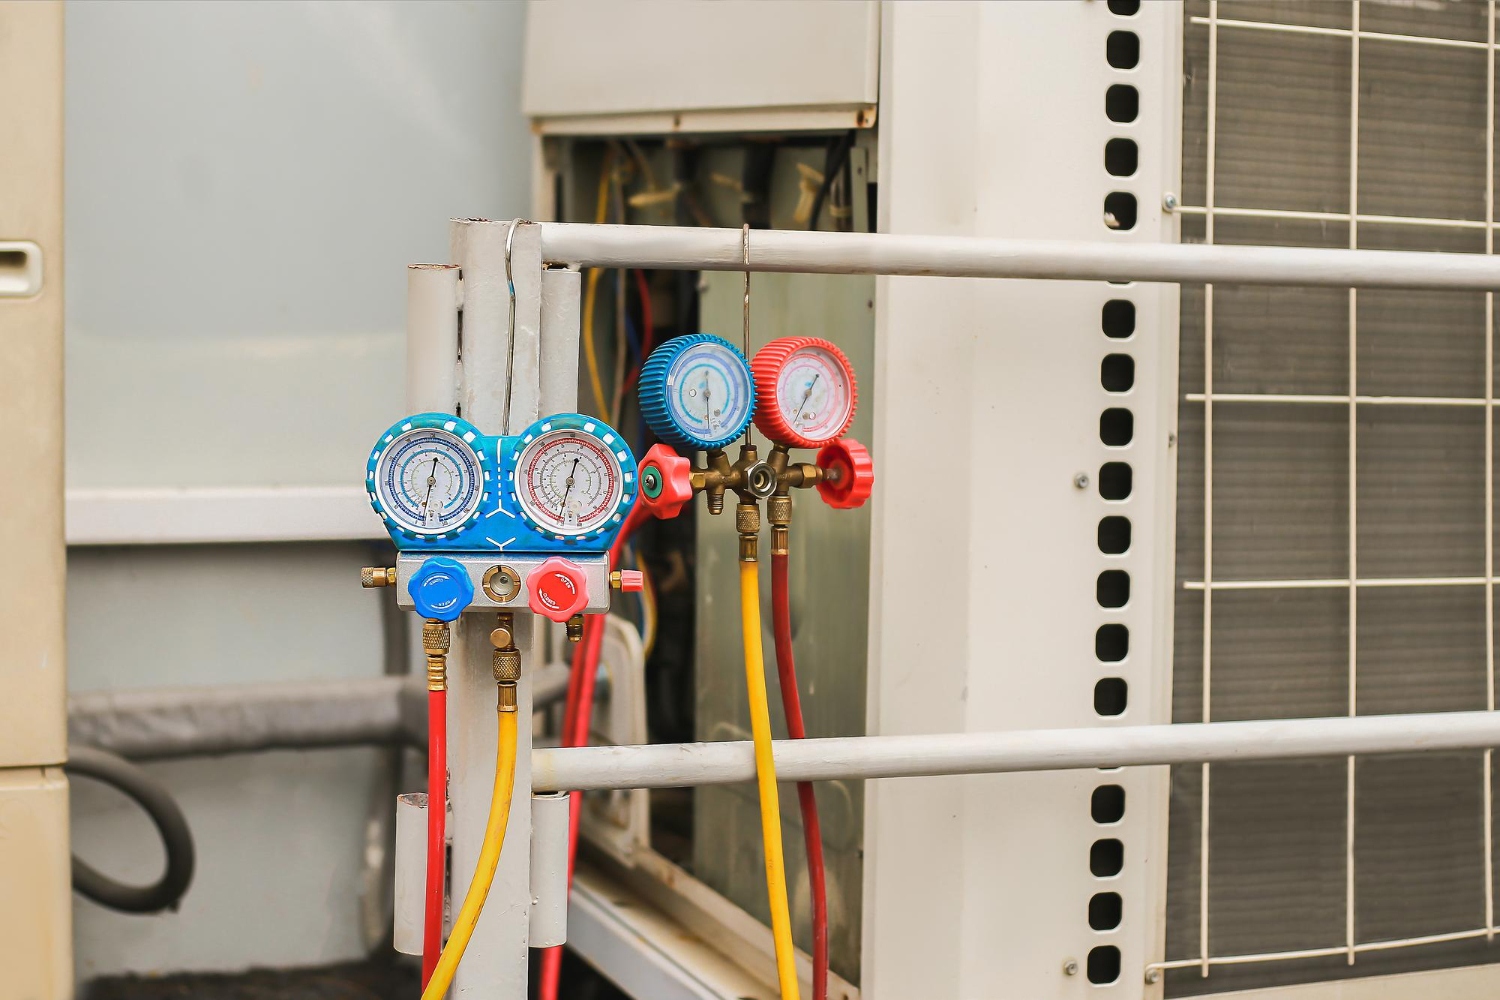
System Testing and Inspection
Before turning on the system, a professional HVAC technician should inspect your work. They will check the refrigerant levels and make sure all connections are correct and secure.
Perform a test run of the system to see if it cools effectively. The HVAC technician will also inspect the ductwork for any leaks or issues. They may need to make adjustments or repairs to ensure everything is functioning optimally.
Post-Installation Considerations
After installing your central air system, it's vital to focus on maintenance, cleaning, efficiency, and enhancements to ensure longevity and effective performance. Proper care can help you avoid costly repairs and maximize comfort.
Maintenance and Cleaning
Regular maintenance is key for keeping your central air conditioning unit running smoothly. Check and replace air filters every 1-3 months to prevent dust and debris buildup. Blocked filters can damage your unit and reduce air circulation.
Inspect the registers to ensure they are clean and open. Obstructed registers can lead to uneven cooling and increased strain on the system.
Clean the coils and ensure the refrigerant lines are in good condition. Dust and dirt can accumulate on the coils, reducing efficiency. Use a soft brush or vacuum to remove debris.
(Schedule annual professional check-ups). Technicians can check for any mechanical issues, test the thermostat, and ensure refrigerant levels are adequate. Their skill in maintaining the system is a valuable investment.
Efficiency Tips and Enhancements
Optimize Your Thermostat: Use a programmable thermostat to adjust temperatures and save energy when you’re away.
Consider Upgrades: Upgrading to a heat pump or a higher SEER-rated system can improve efficiency and add value to your home.
Ensure Good Airflow: Keep furniture and other objects away from air vents and registers to prevent system strain and maintain even cooling.
Manage Humidity: Use a dehumidifier if needed to keep your home comfortable and reduce the load on your air system.
For professional installation and maintenance of central air systems in Butte, the experts at Tri-County Mechanical and Electrical are here to help. Contact us today to learn more.


.jpg)
.jpg)

.jpg)
.jpg)


